
Beginner’s Guide to Applying Press-On Nails Like a Pro
Whether you’re getting ready for a wedding, festive celebration, or a casual outing, press-on nails have become the go-to solution for women who want a salon-quality manicure without spending hours (and thousands of rupees) at a nail salon. From artificial nails to false nails and fake nails, the choices are endless — and the application process is easier than you think.
In this guide, you’ll learn step-by-step how to apply press-on nails like a professional, along with pro tips to make them last longer and look natural.
Why Choose Press-On Nails?
Before we jump into the application process, let’s understand why press-on nails are the preferred choice for many:
- Instant Transformation: No drying time, no smudges, just instant glam.
- Affordable Luxury: Get the look of salon extensions at a fraction of the cost.
- Damage-Free: Unlike acrylics, premium false nails are gentle on natural nails.
- Variety of Designs: From glittery festive patterns to elegant nude shades, there’s something for every mood.
- Reusable: High-quality artificial nails can be worn multiple times.
Step-by-Step Guide to Applying Press-On Nails Like a Pro
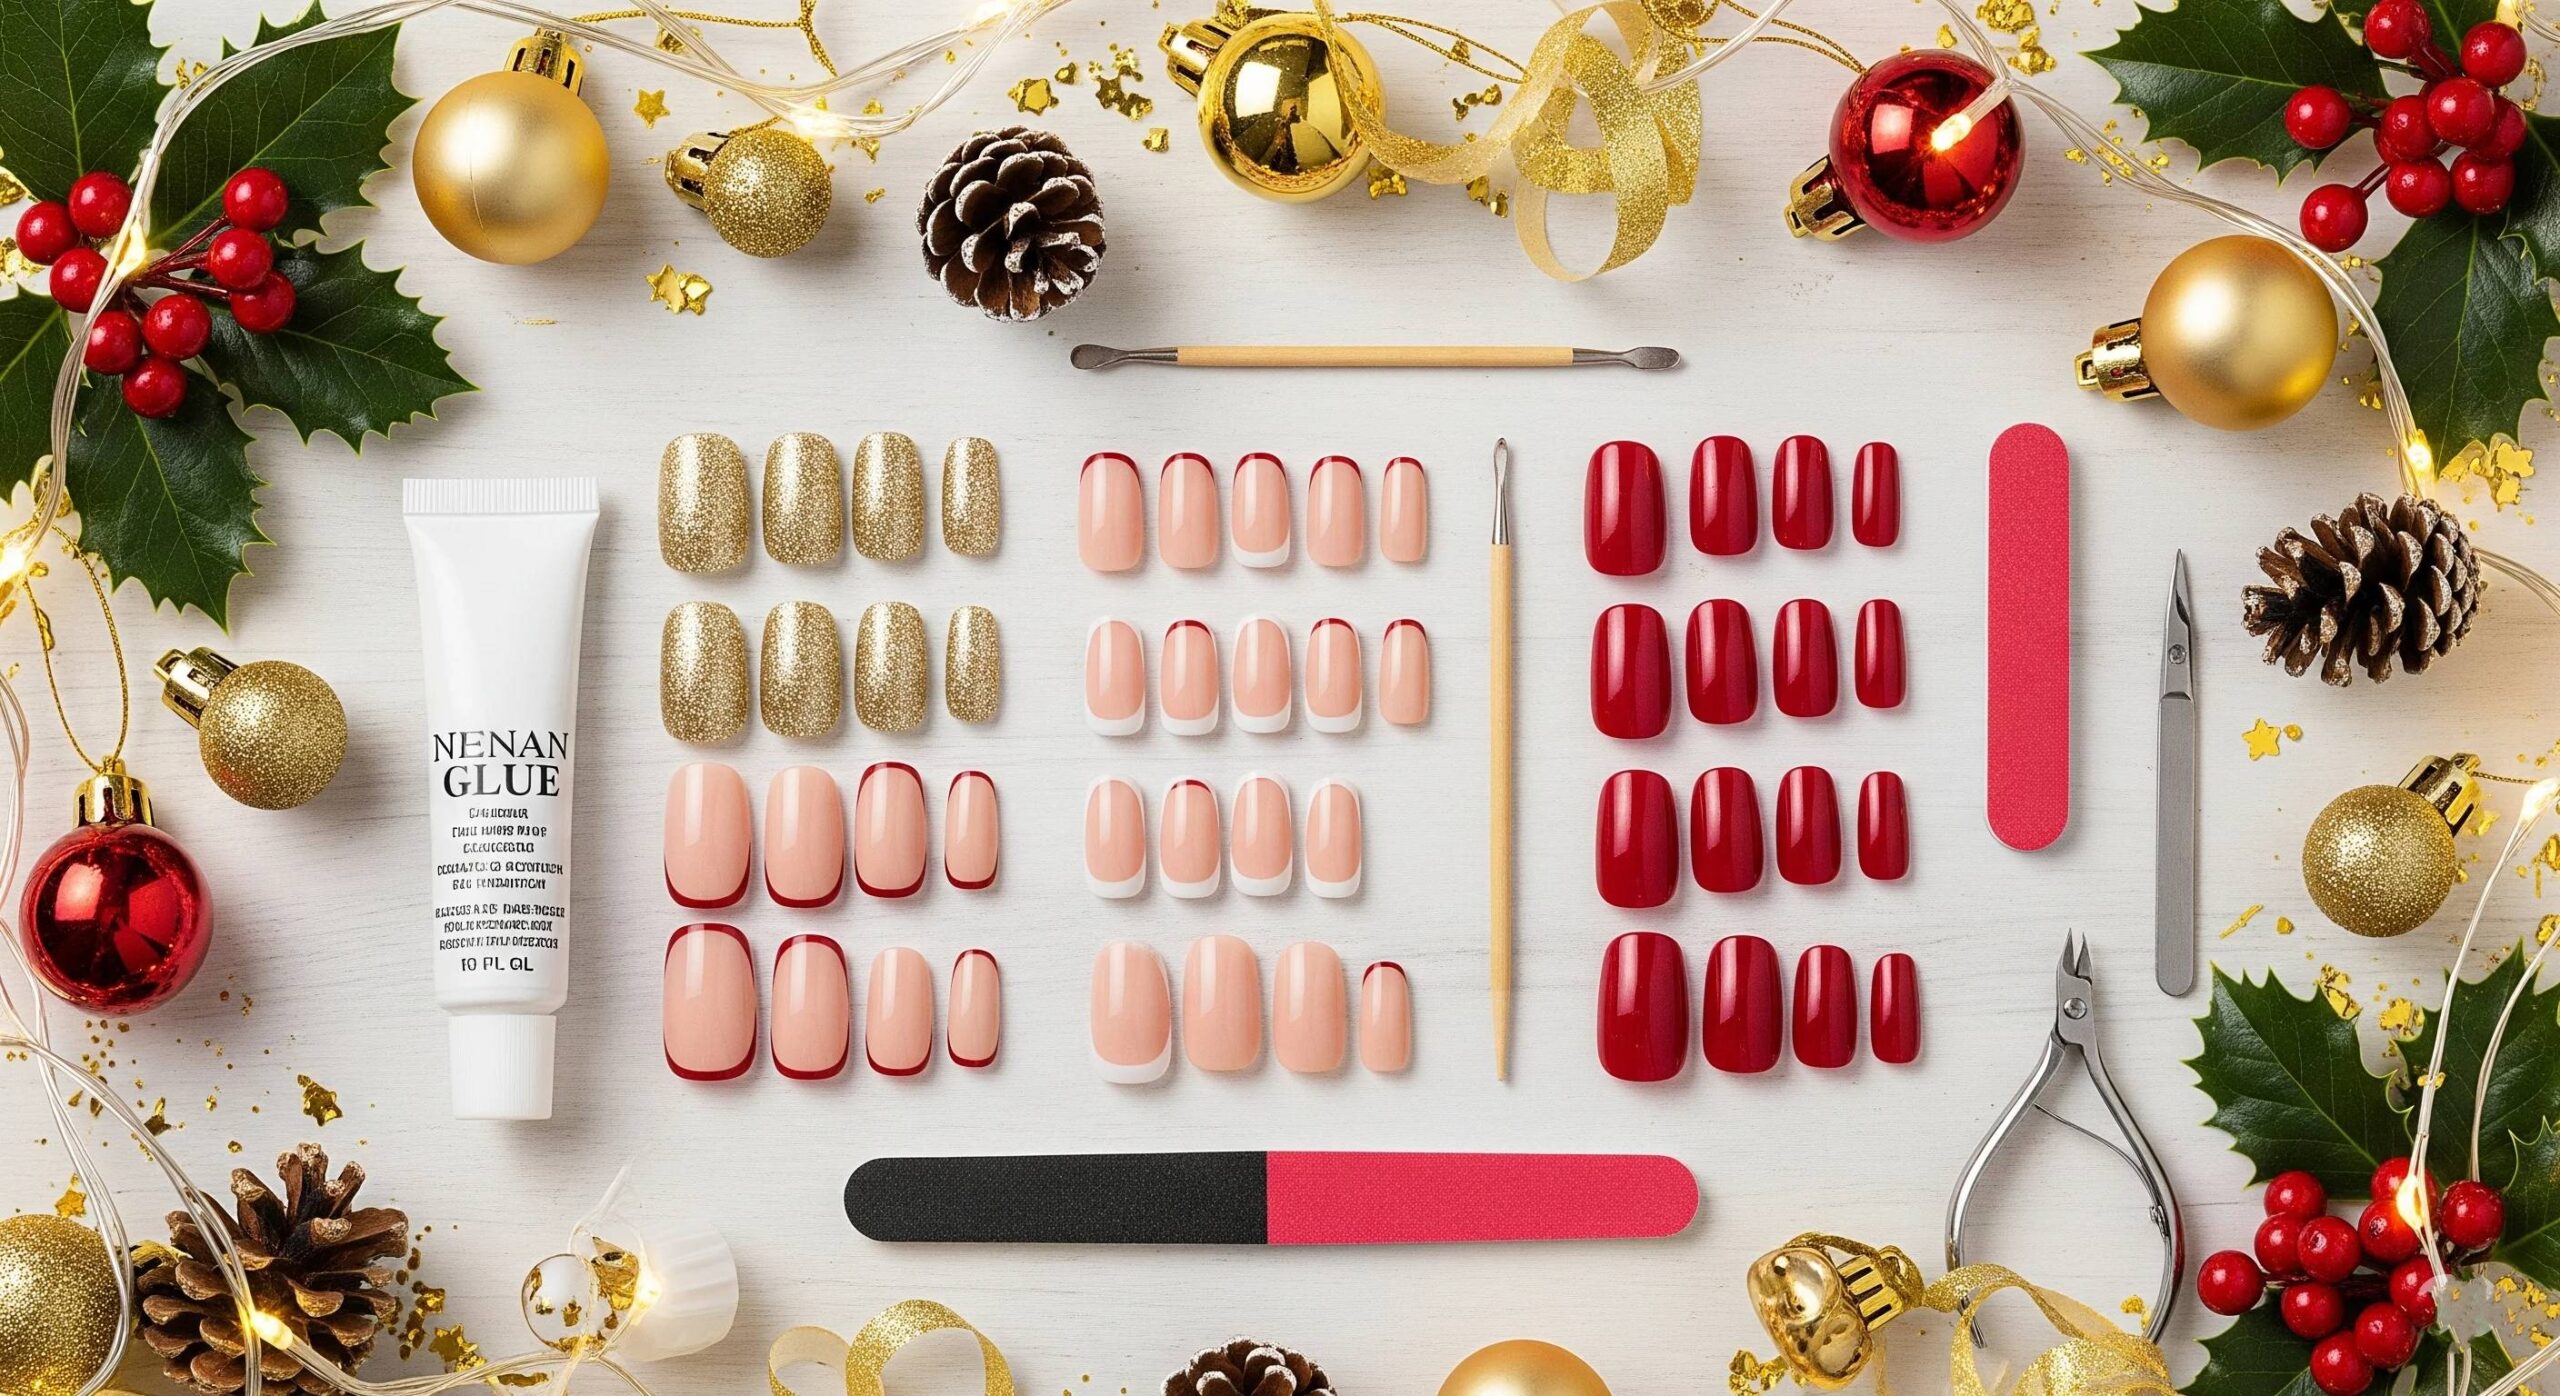
Step 1: Gather Your Tools
You’ll need:
- Press-on nails (choose your favorite style)
- Nail file & buffer
- Cuticle pusher
- Nail glue or adhesive tabs
- Alcohol wipes or nail cleanser
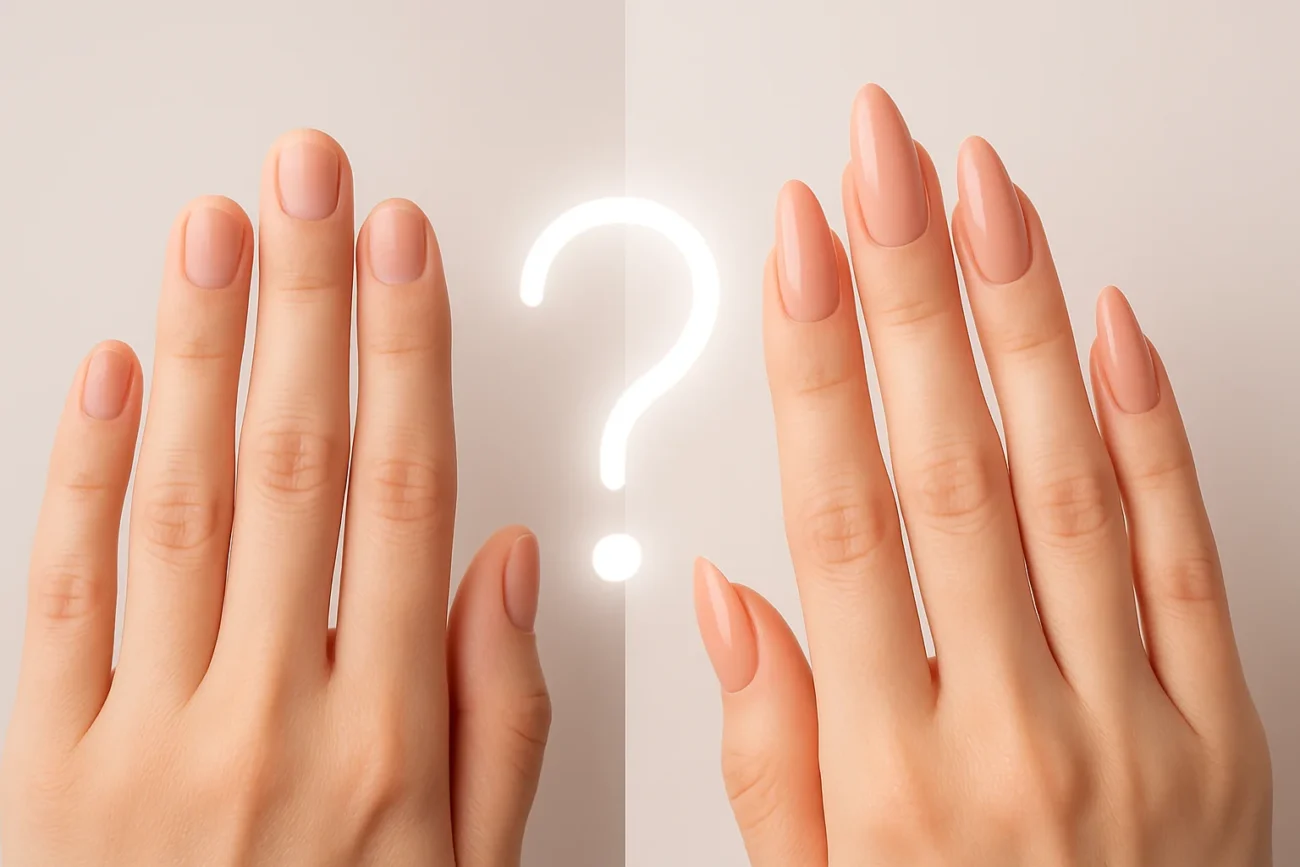
Step 2: Prep Your Natural Nails
This is the most important step for a long-lasting manicure.
- Remove any old nail polish.
- Wash and dry your hands thoroughly.
- Push back cuticles with a cuticle pusher.
- Lightly buff your nails to remove shine.
- Clean nails with an alcohol wipe to remove oils.
💡 Pro Tip: Never skip cleaning — it helps the glue or adhesive tabs stick better.
Step 3: Choose the Right Nail Size
- Match each press-on nail to your natural nail size before starting.
- If a press-on is slightly larger, file the sides for a perfect fit.
Step 4: Apply the Nails
With Glue:
- Apply a thin layer of nail glue to your natural nail.
- Add a small drop of glue to the back of the press-on nail.
- Press and hold for 10–15 seconds.
With Adhesive Tabs:
- Stick the tab to your natural nail.
- Peel off the protective layer.
- Place the press-on nail and press firmly.
Step 5: Shape & Finish
- Once applied, file the tips if needed for your desired shape.
- Apply a top coat for extra shine and durability.
How to Make Your Press-On Nails Last Longer
- Avoid soaking hands in water for the first 2 hours after application.
- Wear gloves while doing dishes or cleaning.
- Use cuticle oil daily to keep nails looking fresh.
- Store your nails properly after removal for reuse.
Common Mistakes to Avoid
- Applying nails to wet or oily nail beds.
- Skipping the nail buffing step.
- Using too much glue (it can cause lifting).
- Choosing the wrong size nail.
Best Places to Buy Press-On Nails in India
If you’re looking for premium-quality press-on nails, false nails, or artificial nails that look salon-perfect, PinkBaby.in has you covered. From festive glitter sets to elegant everyday designs, you’ll find the perfect style for every occasion.
Why PinkBaby?
- Wide variety of designs for weddings, festivals, and casual wear.
- Reusable & long-lasting.
- Affordable yet premium quality.
- Gentle on natural nails.
Final Thoughts
Applying press-on nails like a pro isn’t difficult — it’s all about preparation and choosing the right products. With the right tools, a few minutes of patience, and premium-quality fake nails, you can transform your hands instantly.
This festive season or for your next special event, skip the salon and embrace the convenience, beauty, and affordability of press-on nails.


Add a review
Your email address will not be published. Required fields are marked *